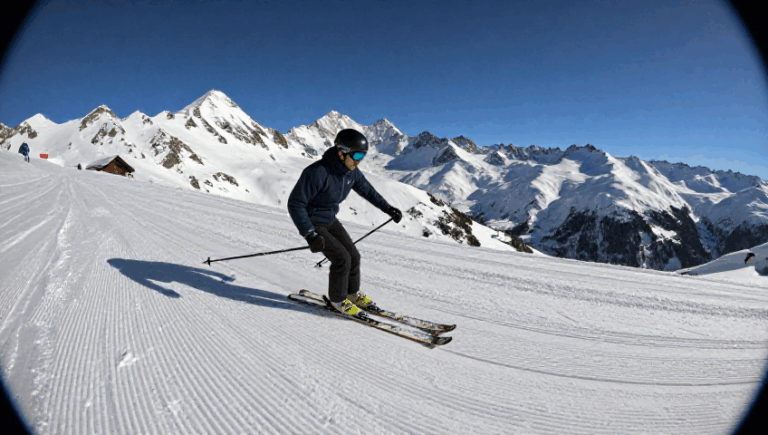
When you first step onto a Chamonix green slope or glide down a crisp blue slope, the difference between a skidded turn and a clean carved turn is as obvious as night and day. The secret lies in the ski carving technique that lets you harness the critical edge angle of your skis, keep the outside ski under pressure, and let the inside ski support the move with perfect ankle roll and hip movement. Mastering the progressive edge build means learning how to monitor the edge angle with an edge angle monitor or simply feeling the “bite” of the snow under the sidecut. Whether you’re practising a smooth J‑turn or a rapid railroad drill, every drill – from drill 1 (straight hips) to drill 3 (teacup drill) – builds the muscle memory you need. By paying attention to outside ski pressure, adjusting the hip angle, and choosing the right terrain choice in varying snow conditions, you’ll soon be shaping arcs with a precise turn radius that mirrors the ski’s sidecut radius. In short, the blend of a forward stance, shoulder‑width stance, balanced body position and a well‑timed edge engagement is what separates a true carver from a casual skier.
Table of Contents
Understanding how the ski carves
Carving isn’t magic; it’s physics. The ski’s sidecut radius creates a natural arc when the edge bites into the snow. As you tilt the ski, the critical edge angle – often between 30° and 45° – determines how aggressively the ski will turn. The key is to keep the outside knee bent, the inside knee slightly flexed, and the hips aligned with the turn direction. The ankle roll starts the edge engagement, while the hip movement fine‑tunes the angle.
Two fundamental concepts often get confused: the skidded turn versus the carved turn. In a skidded turn, the ski slides sideways, generating friction and wasting energy. In contrast, a carved turn lets the ski slice cleanly, converting forward momentum into a smooth arc with minimal slip. The difference can be felt in the sound: the “screech” of a skidded turn versus the “whoosh” of a carved line.
Sidecut radius and turn radius
Think of the sidecut radius as the ski’s built‑in template. If your turn radius matches that template, the edge will naturally follow the curve without extra effort. Adjust the forward stance and shoulder width stance to align your body with this curve, and the ski will do most of the work.
Choosing the right terrain
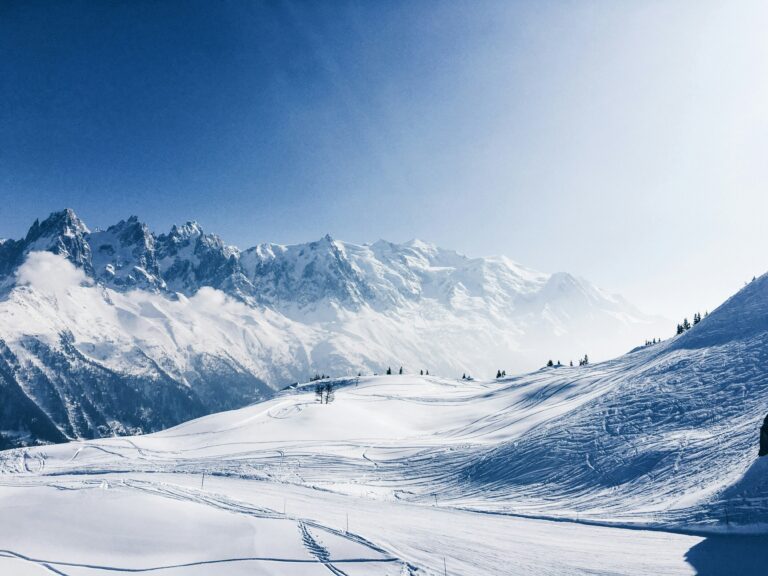
Chamonix offers a palette of slopes that suit every skill level. For beginners, a wide green slope with consistent grooming is ideal; the gentle incline allows you to practice the parallel turn while keeping your balance on ski stable. Intermediates can graduate to a well‑maintained blue slope, where the steeper gradient encourages a higher critical edge angle and sharper turn radius.
| Skill level | Preferred slope | Key focus |
|---|---|---|
| Beginner | Green slope | Weight distribution, basic edge angle |
| Intermediate | Blue slope | Progressive edge build, outside ski pressure |
| Advanced | Steeper black runs | Dynamic angulation, high hip angle |
Always assess the snow conditions before stepping out. Powder rewards a slightly less aggressive edge, while hardpacked snow welcomes a crisp, high-angle carve.
Essential drills for carved turns
Drills translate theory into muscle memory. Below are three classic exercises that work for any skier who wants to boost their carving confidence.
- Drill 1 – Straight hips: Glide down a gentle slope, keeping hips level and parallel to the fall line. This isolates the outside ski and teaches you to keep the inside ski light.
- Drill 2 – No poles edge rolls: Remove your poles, then practice rolling the ankles and knees into the edge without any upper‑body assistance. Feel the ankle roll trigger the edge angle that guides the carve.
- Drill 3 – Teacup drill: Picture a teacup: start the turn wide, then close the radius as you approach the cup’s bottom. It reinforces the progressive edge build and the transition from wide to tight arcs.
The railroad drill adds a fun twist—imagine two parallel rails and practice moving smoothly from one to the other, maintaining constant outside ski pressure while the inside knee follows.
Monitor mode: tracking your edge angle
Modern ski boots often include an edge angle monitor that flashes when you reach the desired angle. Use it as feedback during drills; once you’re comfortable, you’ll no longer need the device—it’ll become instinctive.

Progressive edge build and the critical edge angle
Achieving the perfect critical edge angle isn’t just about tilting your ski; it’s about a smooth, progressive increase in edge angle throughout the turn. Start with a shallow angle on entry, then gently increase the tilt as you move through the apex. This progressive edge build reduces the risk of catching an edge and allows a fluid transition into the next turn.
Here’s a quick checklist to master the process:
- Begin with a relaxed forward stance and balanced weight on both skis.
- Roll the ankles until you feel the first edge bite – this is the “initiation” of the edge.
- Shift weight onto the outside ski, applying steady outside ski pressure.
- Increase the hip angle gradually, letting the ski’s sidecut radius guide the arc.
- Maintain a light inside ski to aid stability without dragging.
When you can perform this sequence smoothly, you’ll notice a significant improvement in carved turns. The turn radius becomes more consistent, and the edges glide without “chattering”.
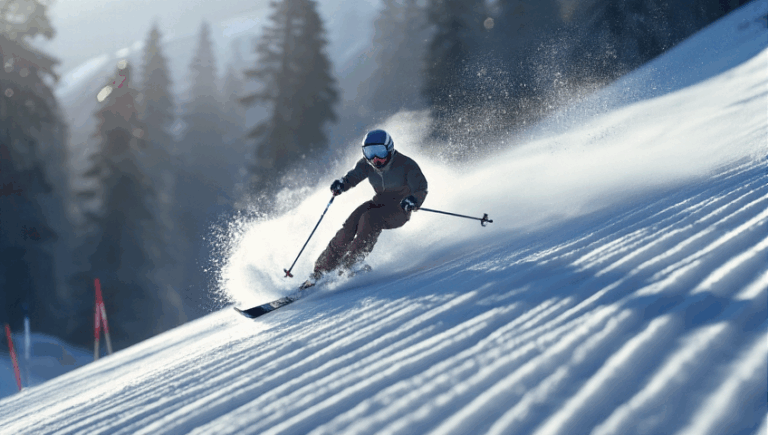
Advanced tips for dynamic carving
For those ready to push beyond the basics, dynamic carving adds speed, excitement, and a touch of showmanship. The secret lies in combining inclination with angulation and mastering the “mad angles” of the ski.
- Dynamic inclination: Push the ski deeper into the snow by extending the hips outward, creating a larger angle between the ski and the slope.
- Angulation control: Keep the torso upright while the legs create a sharp angle, preserving balance and reducing the chance of a fall.
- Edge timing: Anticipate the transition point and roll the edge just before the apex for a snappier, more responsive turn.
One often‑overlooked element is the role of the outside knee. By slightly flexing it just before the apex, you store energy that releases as you exit the turn, delivering a clean, powerful line.
Carving on varied terrain
Even on a challenging black run, the same principles apply: maintain a forward stance, keep the outside ski pressure consistent, adjust the hip angle for steeper slopes, and use the edge angle monitor (or your own feel) to stay within safe limits.
Putting it together on the slopes of Chamonix
Now that you’ve absorbed the theory, the drills, and the advanced nuances, it’s time to test them on real snow. Start on a wide green slope in the Aiguille du Midi area. Warm up with the drill 1 and drill 2 drills, then progress to a gentle J‑turn across the slope. Feel the gradual increase of the edge angle as you enter the turn, and notice how the outside ski becomes the engine of the movement.
When confidence builds, move to a steeper blue slope near the Grands Montets. Here, incorporate the railroad drill to practice rapid edge changes, and experiment with a tighter turn radius. Finish the session with a few runs on a well‑groomed black run, applying the dynamic inclination and angulation techniques.
Remember, the goal isn’t just to carve—it’s to do so with control, fluidity, and enjoyment. The mountains of Chamonix reward those who respect the physics and embrace the rhythm of the carve.
“I thought carving was only for experts, but after a week of focused drills on the green runs, I was slicing through the blue runs with confidence. The key was listening to the ski’s edge and trusting my hips.”
Frequent Asked Questions
How to carve better when skiing?
Start every turn by rolling your ankles and knees toward the edge. This initiates the outside ski pressure needed for a clean bite. Keep your torso forward and avoid any twist; a steady forward stance and a slight forward lean help maintain balance. Push your shins gently into the front of the boot to feel the edge engage, and let the hips guide the progressive increase in the edge angle.
What makes a good carving ski?
Carving skis typically feature a waist width between 60 mm and 80 mm and a pronounced sidecut. This geometry creates a smaller sidecut radius, allowing the ski to enter a turn more easily. A stiff flex and well‑engineered construction help sustain the critical edge angle without chatter, especially on hard‑packed snow.
Is carving better than skidding?
From an efficiency standpoint, carving is superior. A proper carve converts forward momentum directly into a smooth arc, reducing energy loss. Skidding, on the other hand, dissipates energy as friction, making the descent feel slower and more tiring. Once you master the progressive edge build, you’ll notice a significant boost in speed and control.
What skill level is best for carving skis?
Intermediate skiers benefit most. Traditional carving skis with a narrow waist (70‑80 mm) and a sharp sidecut provide enough stability for learners while encouraging the development of proper technique. Advanced riders may prefer “all‑mountain” or “race” carving models that allow higher edge angles and tighter turn radius.
Can I practice carving drills at home?
Absolutely. Simple balance exercises on a slippery floor or a yoga mat can simulate the ankle roll and hip movement needed on snow. The “railroad drill” can be mimicked by sliding a board across a smooth surface while focusing on edge pressure. These home drills improve proprioception, making on‑snow practice more effective.
Carving your path forward in Chamonix
We’ve covered everything from the physics of the edge angle to terrain selection, drills, and advanced dynamics. By integrating these elements, you’ll transform every descent into a series of fluid, confident arcs that echo the majestic valleys surrounding you. Keep refining the outside ski pressure, experiment with different hip angles, and let the mountain’s rhythm guide you. The next time you step onto a Chamonix slope, you’ll do more than ski—you’ll carve your own story across the snow.